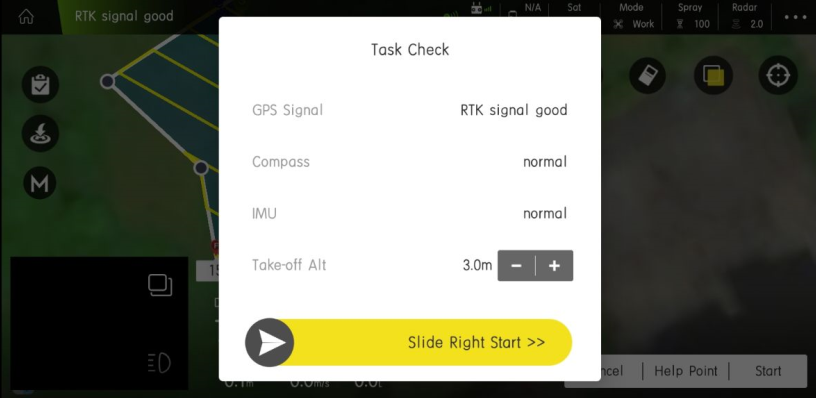
Reference point requirements:
The reference point should be selected in an open and flat place. The reference point is the actual take-off point of the aircraft and the basis for the aircraft to correct the deviation. Therefore, try not to have obstacles such as wires and trees around. When correcting each time, the actual position of the aircraft should be coincident with the selected reference point position, and then click “correct to aircraft position”, and the plot will be shifted as a whole;
How to calibrate the reference point:
First enter the app, and then click on the planning plot, as shown in Figure 1:

Then click on the planning plot in the lower right corner, as shown in Figure 2:
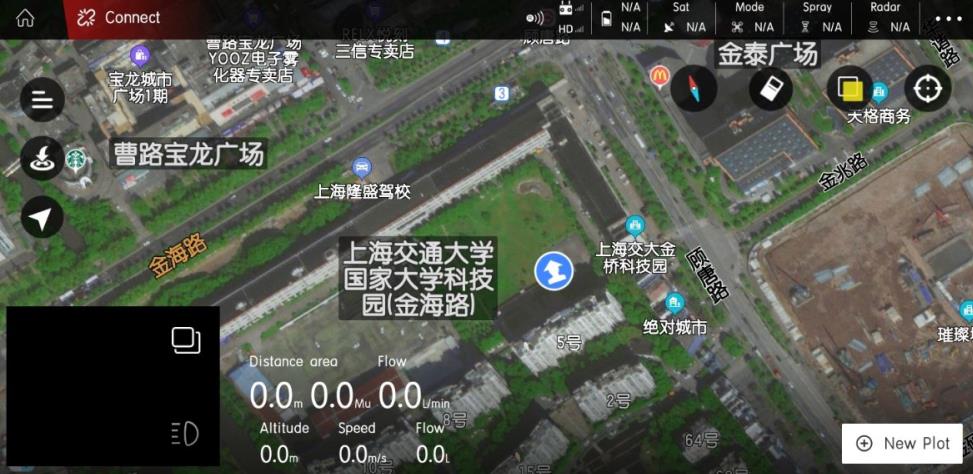
Next, the method of planning the plot will pop up, as shown in Figure 3:
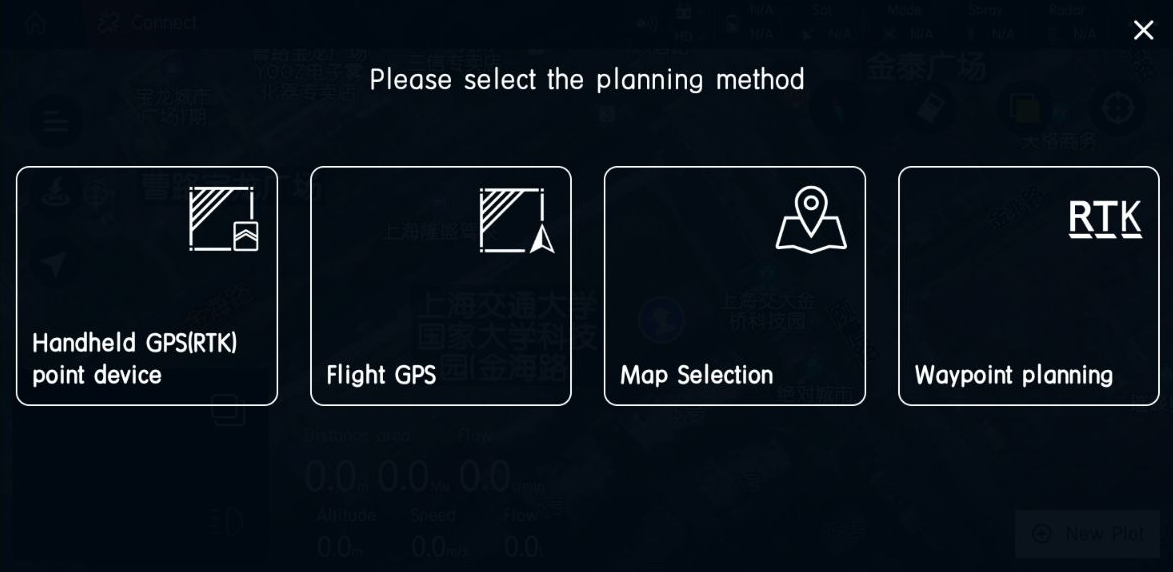
Next, you can add a reference point to any one of the GPS, aircraft GPS and three-dimensional route.
Take the handheld GPS as an example. After selecting the handheld GPS, you will need to enter the name of the plot, as shown in Figure 4:
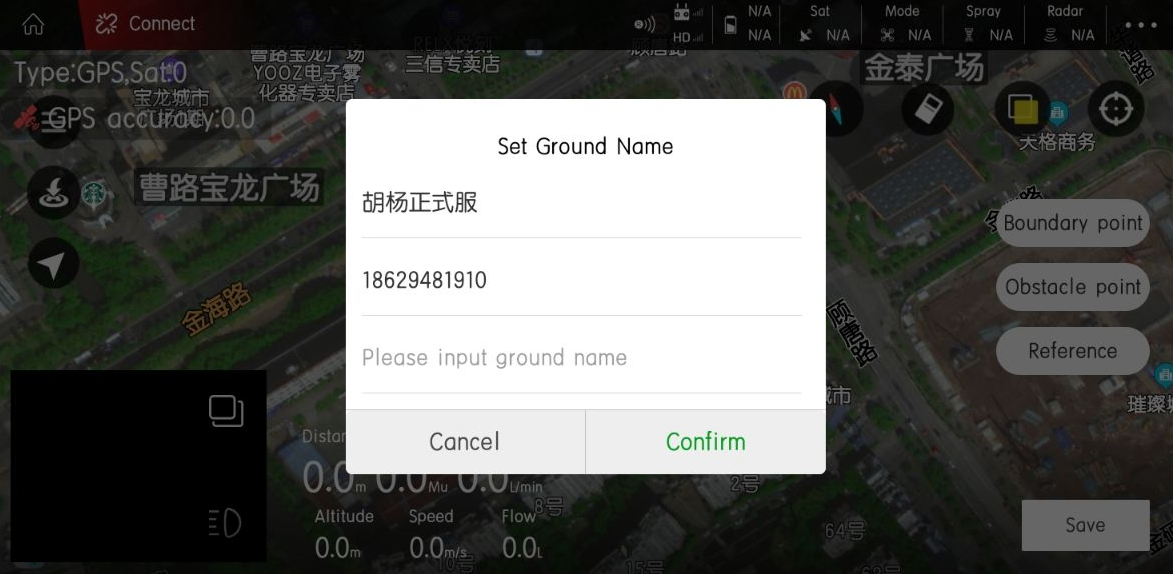
Enter the name of the plot, go to a suitable open place after positioning the hand inker, and add a reference point here (the reference point should be as close to the plane as possible, preferably the take-off point of the plane), as shown in Figure 5: (Figure The five-star mark is the reference point)
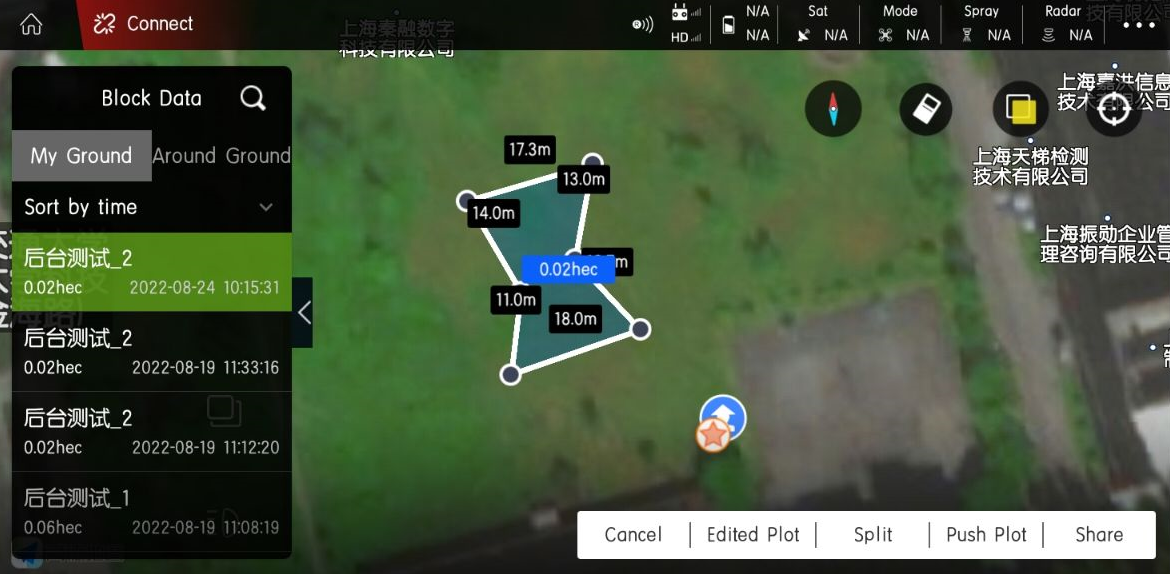
If you need to adjust the reference point, click the three horizontal lines in the upper left corner to find the corresponding plot, as shown in Figure 6 and Figure 7:
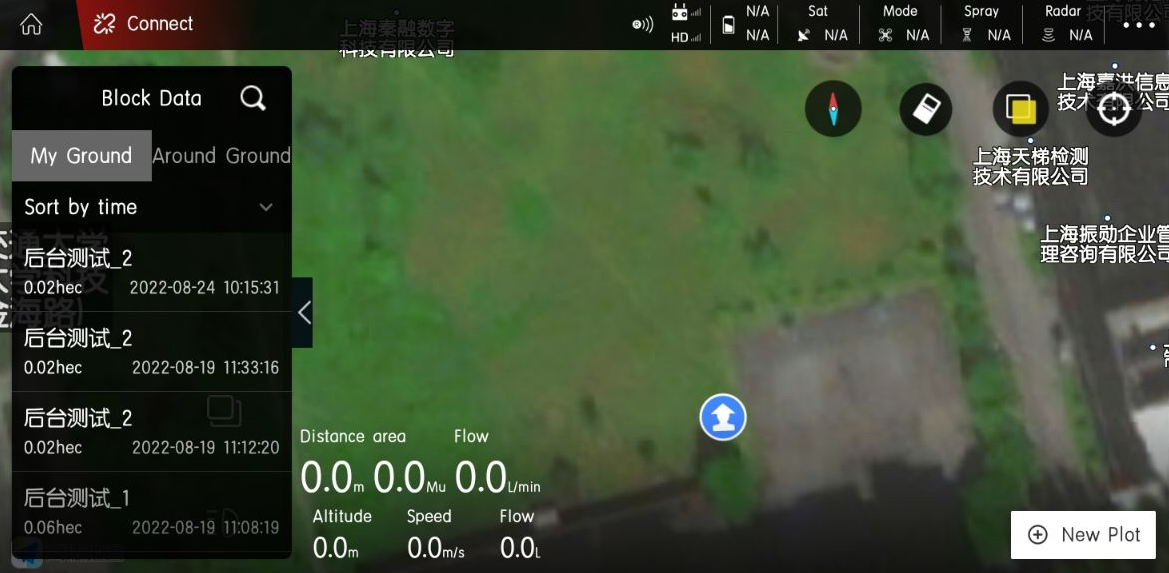
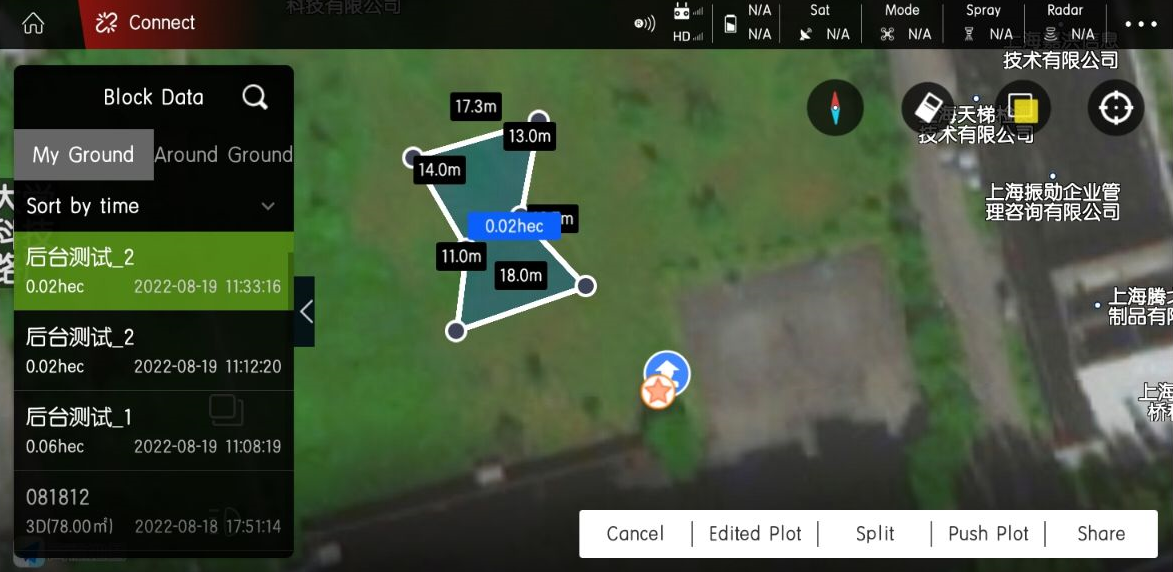
Select the edit plot, and then click the point to be modified to perform the corresponding operation, as shown in Figure 8 and Figure 9:
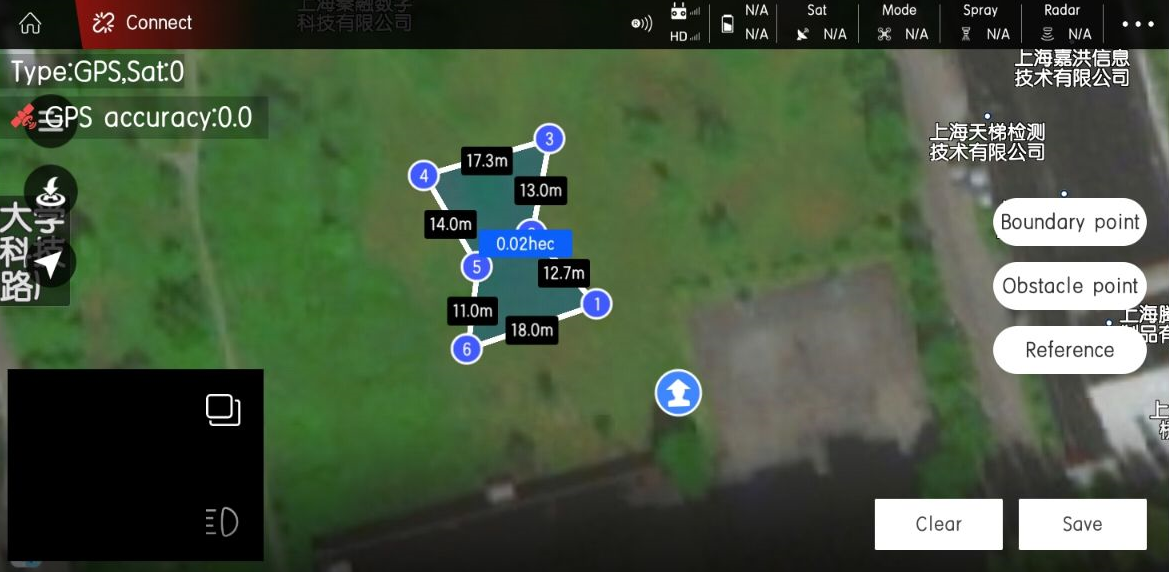
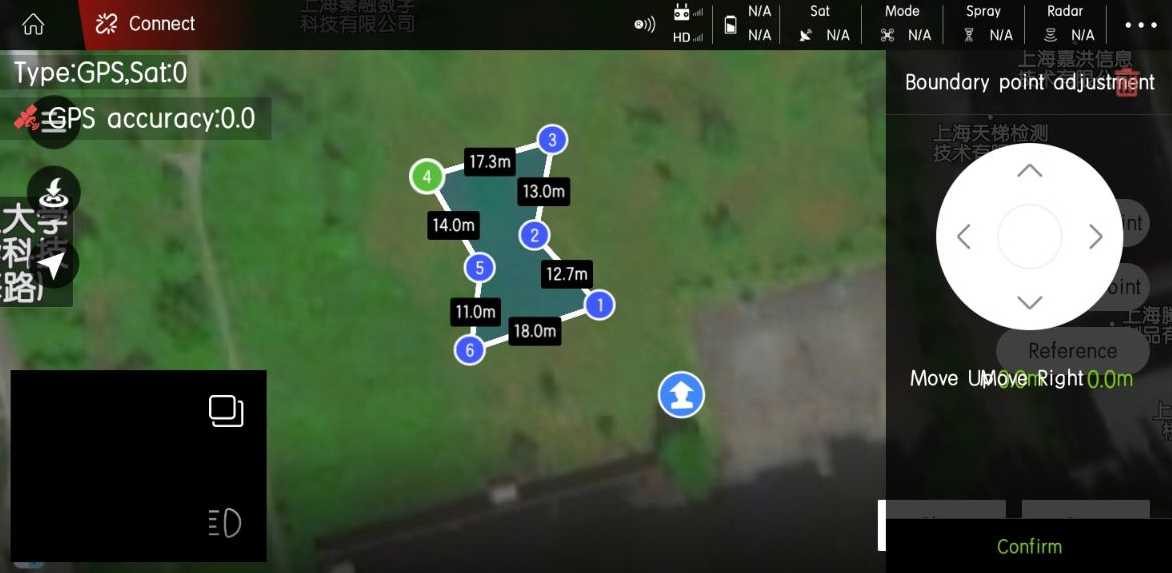
Finally, save and exit. After the task is assigned, enter the execution job, click the three horizontal lines in the upper left corner, as shown in Figure 10:
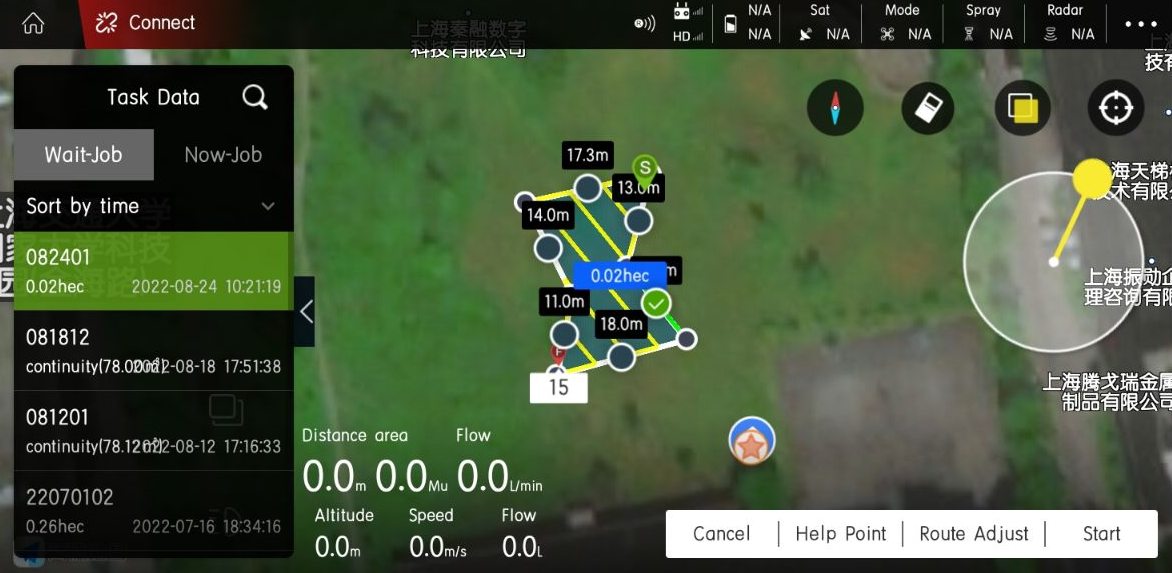
Then select the route adjustment in the lower right corner, and select the route adjustment in the pop-up page as shown in Figure 11:
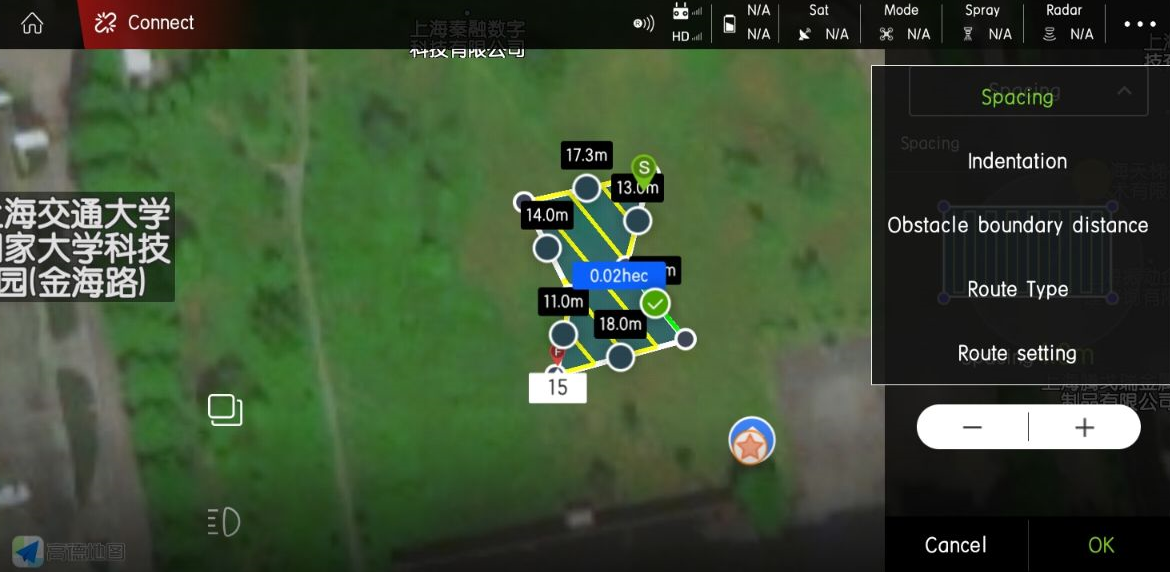
After performing these operations, it is the same as Figure 12:
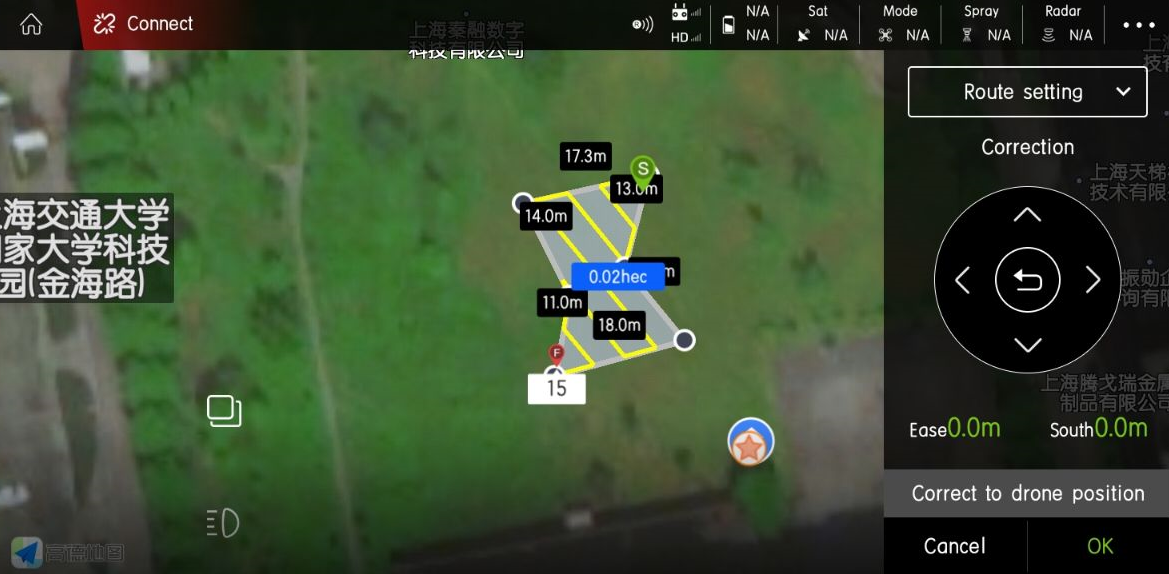
Click below to correct the aircraft position, as shown in Figures 13 and 14:
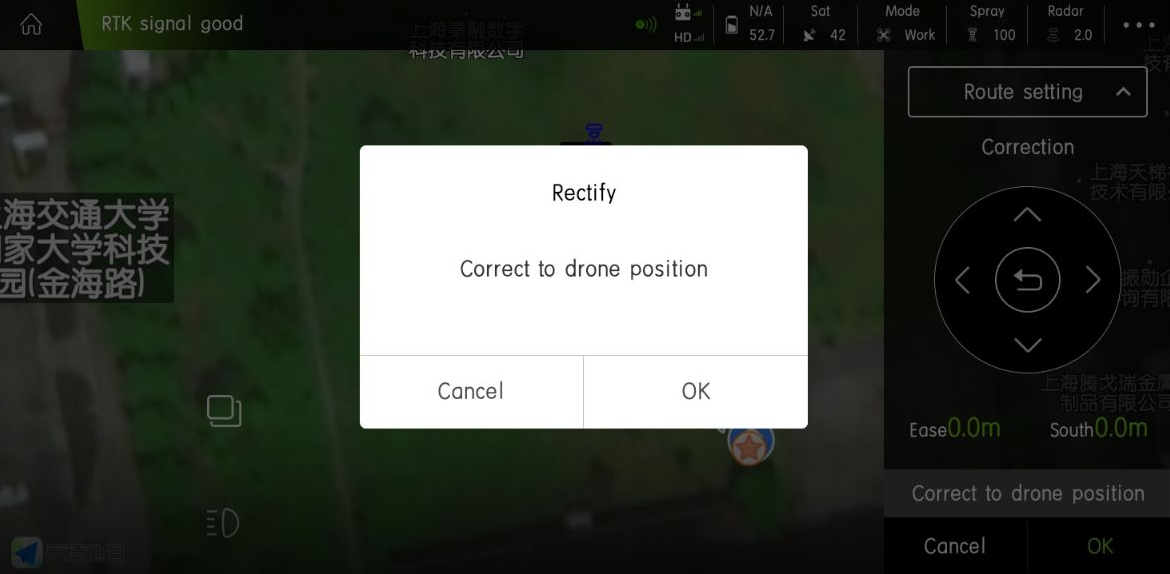
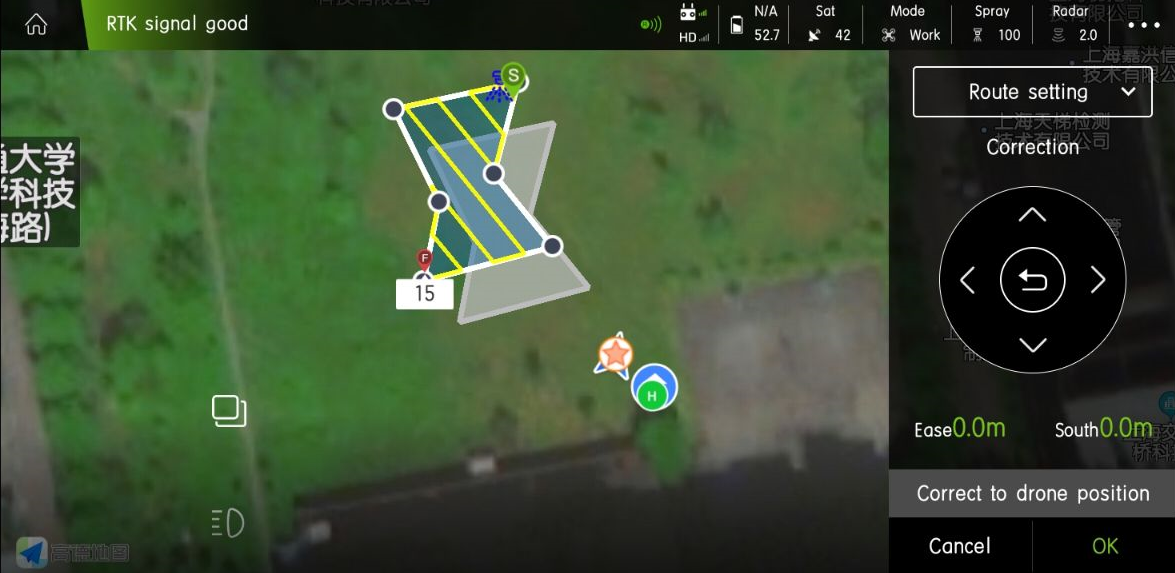
You will see that the plot is offset, click OK, and then execute the operation, as shown in Figure 15 and 16
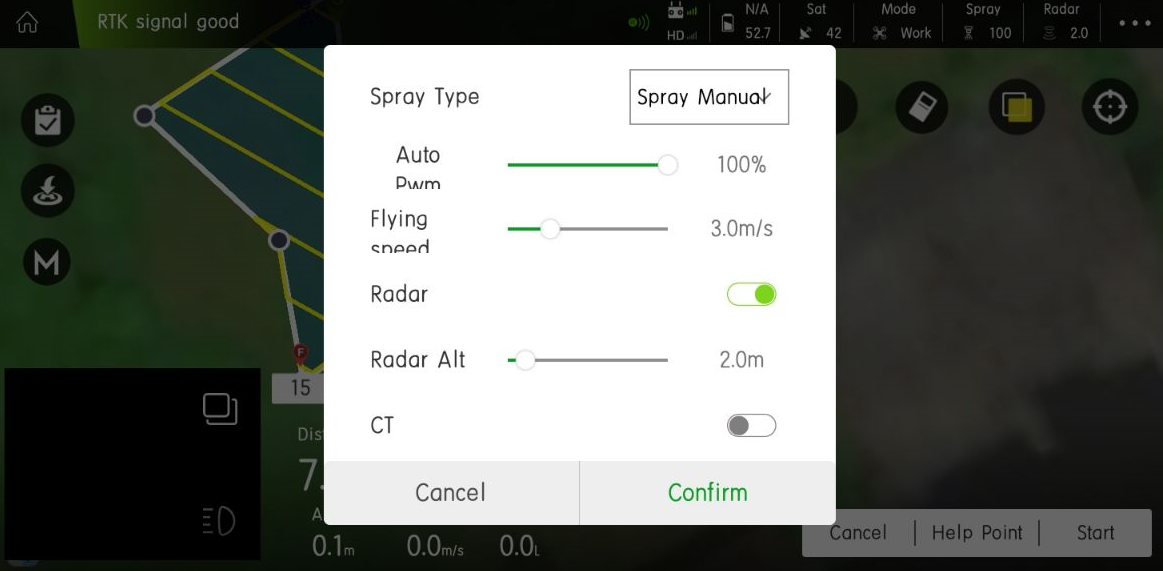
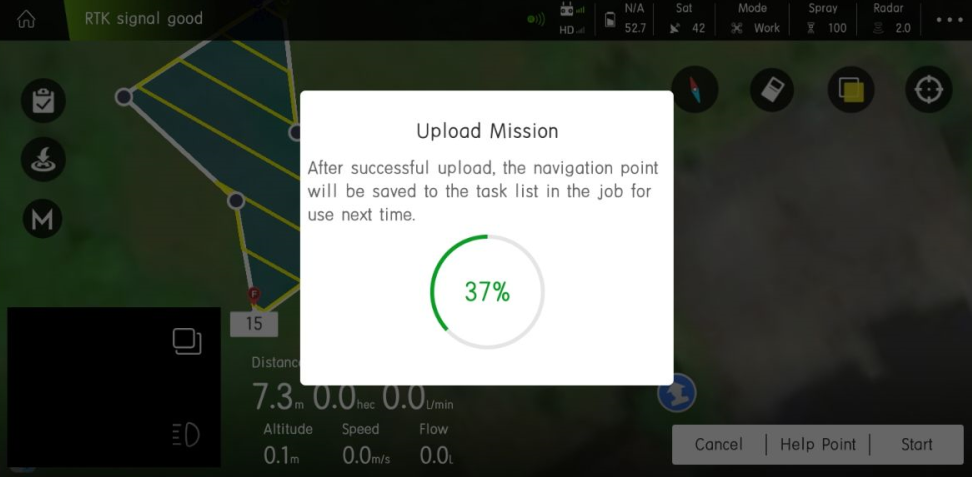
After uploading the waypoints, the image is shown in Figure 17:
