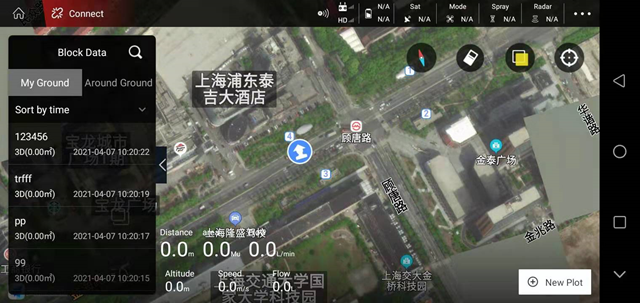
Planning plot interface
Add plot
After clicking “Planning Land” on the main interface of the APP, enter the “Planning Land” interface and click “Add Land” in the lower right corner
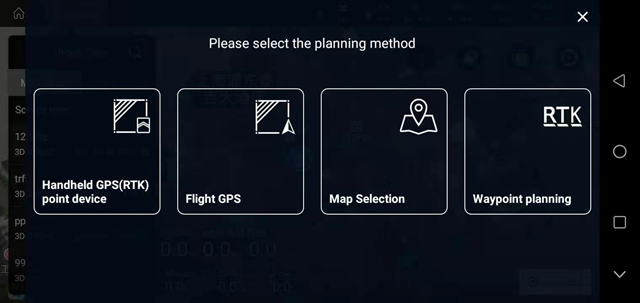
Enter the selection planning method interface, divided into:
- Hand-held GPS (RTK) marker: use GPS marker or RTK marker to connect to the mobile phone, and then circle, the collected plot boundary points are of high accuracy;
- Aircraft GPS: After the APP connects to the aircraft, use the aircraft to circle. It is relatively easy to run around the plot without people;
- Map point selection: Use the map in the aircraft APP to circle points and click at will. The accuracy of the collected plot boundary points is very poor;
- Three-dimensional route: The latest firmware of RTK and flight controller must be used, and three-dimensional waypoints can be collected for flight operations (applicable to higher crops such as fruit trees). For specific operation methods, please check in the featured functions.
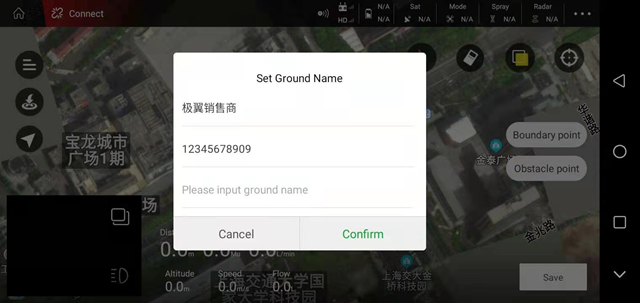
Take the point selection on the map as an example to describe the functions:After selecting the plot and point, a dialog box pops up, fill in the name of the plot to be planned, click “OK” when finished, and then start the point selection;
Move the cursor in the APP to a suitable position, click on the “boundary point” on the right (3 points or more can form a regional plot), the APP will prompt “add boundary point is successful”;
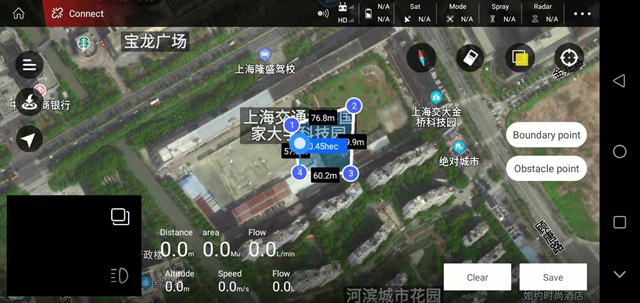
Click on the “obstacle point” on the right, a dialog box pops up, you can choose the type of obstacle (polygon or circle)
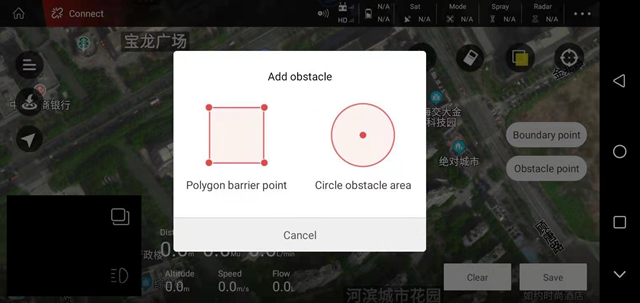
Move the cursor to a suitable position on the map, take a circular obstacle as an example, click “obstacle point”, that is, successfully collect the circular obstacle area;
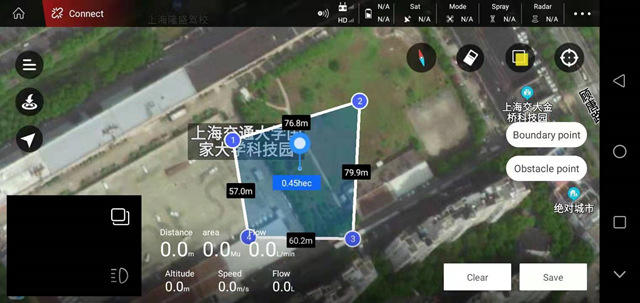
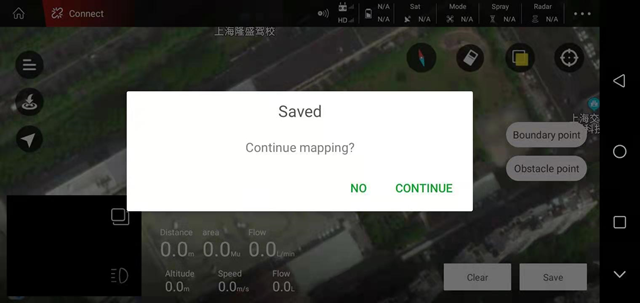
After collecting the work area (boundary point) and obstacle area (obstacle point), click “Save” in the lower right corner, and the plot will be added successfully.
